DIY elasticated bandeau top tutorial
This pattern is for individual home use only. The purchase of this pattern does not entitle you to print, copy or distribute the pattern. Profiting from this pattern or selling garments made from this pattern is not permitted. Please respect the designer.
What you’ll need
Paper
Pencil
Ruler
Fabric chalk
Pins
Matching thread
Contrasting top stitching thread
Top stitching needle
Scissors
Safety pin
6mm or 8mm wide elastic
Fabric
Drafting pattern:
Please play around with the measurements and adjust as much as you like, this is what I found to work for me.
Measure your bust circumference (mine was 84cm).
Divide your bust measurement by 2 (84÷2=42cm).
Add 15 for gathering (42+15=57cm), this is measurement A.
On a piece of paper, draw a rectangle with the width of measurement A and length of 22cm.
This next step is optional but it’s a good way to visualise the placement of the elastic channels.
Starting from the top, draw three horizontal lines that are 1cm apart.
Leave a 4cm gap. Then draw three horizontal lines that are 1cm apart.
Leave a 4cm gap. Then draw three horizontal lines that are 1cm apart.
Leave a 4cm gap. Then draw three horizontal lines that are 1cm apart.
Draw 1cm seam allowance around the whole rectangle.
Cut this out and it will be your front and back pattern piece.
Instructions:
Cut out 4 of your pattern piece in your chosen fabric.
With right sides together, place one rectangle on top of another. Pin and sew (with matching thread) the top and bottom edges with 1cm seam allowance.
Turn the rectangles inside out, the seam allowance will now be hidden inside. Press the top and bottom edges.
Use a ruler and chalk to draw the elastic channels (refer to the drafting section for the measurements I used) on the right side.
Change your sewing machines needle to a top stitching needle and thread with your choice of contrast top stitching thread. Your bobbin will stay the same with matching thread to the fabric.
On the right side, sew directly on top of your chalk lines.
Using your half bust circumference (mine was 42cm) minus it by 4cm (42-4=38cm) this is your elastic length for each channel for the front and back. Cut out 16.
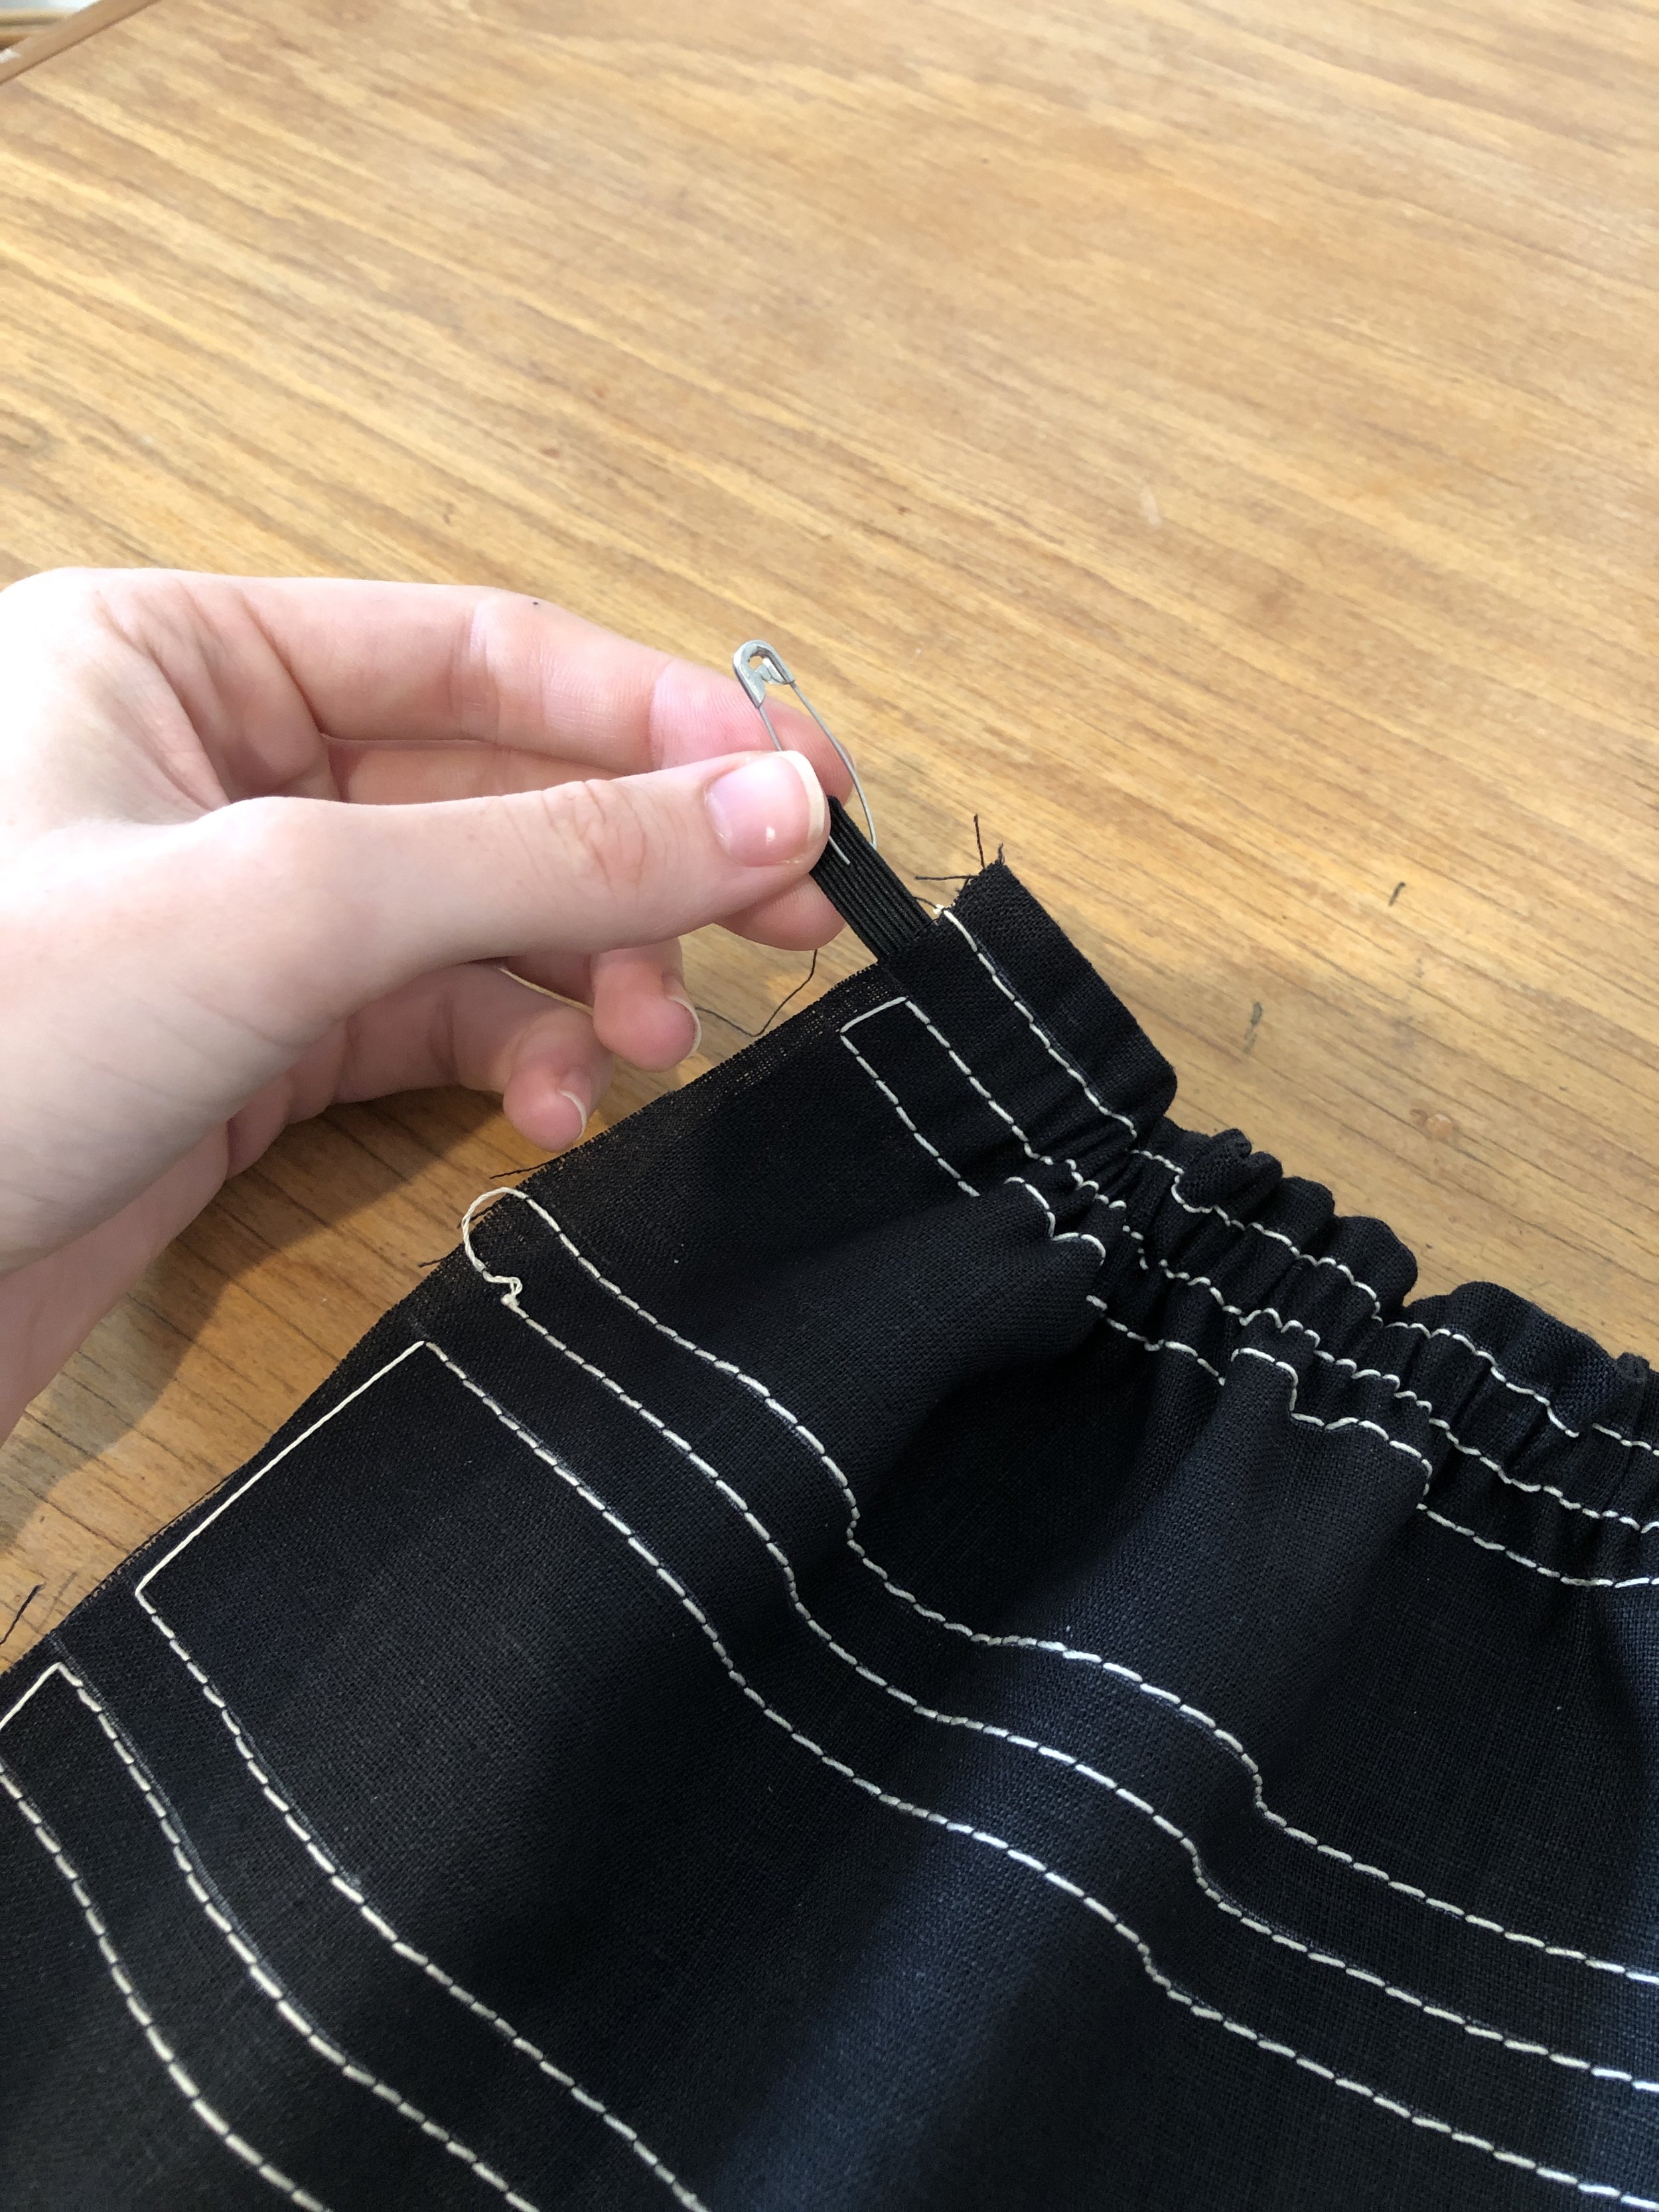
Use a safety pin to thread the elastic through the small channels and pin the ends to secure.
Once all the elastic has been threaded through, change your sewing machines needle back to a regular needle with matching thread, and stitch the open edges to lock the elastic in place.
With right sides together, place one rectangle on top of another. Match up the top stitching and sew the side seams together with 1cm seam allowance.
Finish the raw edges and press towards the centre back.
You are all done! Enjoy your new top!
Don’t forget to share your top with me on social media using the hashtag #gptutorials and tag @georgias_portfolio


